![0224_Surepact_Logo-Primary-1.png]](https://support.surepact.com/hs-fs/hubfs/0224_Surepact_Logo-Primary-1.png?height=43&name=0224_Surepact_Logo-Primary-1.png)
The Submission step involves completing required (and perhaps optional) fields. What appears here represents the application template selected by the funding body.
Application round names and quantities are also set by the funding body. By default there is one round, called Application Round (or whatever the Funding Body has called the round), and the funding body may set up (and name) additional rounds for shortlisting, project stages or regions, etc.
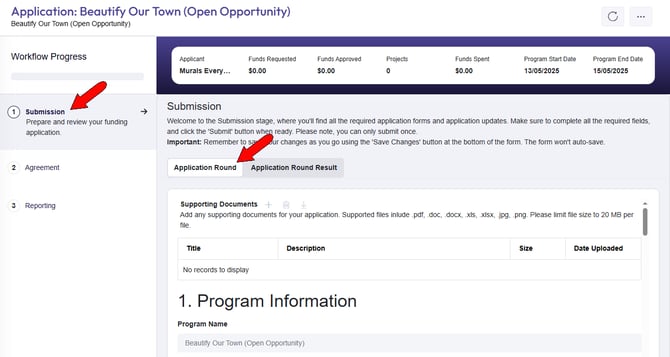
As you proceed through the application, you’ll see both grayed-out and open fields.
- Grayed-out fields contain funding-body provided details such as program name, purpose, contact details, payment type, etc. You’ll also see grayed-out applicant fields taken from your SurePact registration, such as company name and address.
- Open fields are where you enter information, such as what your company can contribute, funds requested, etc. Required fields are indicated in red.
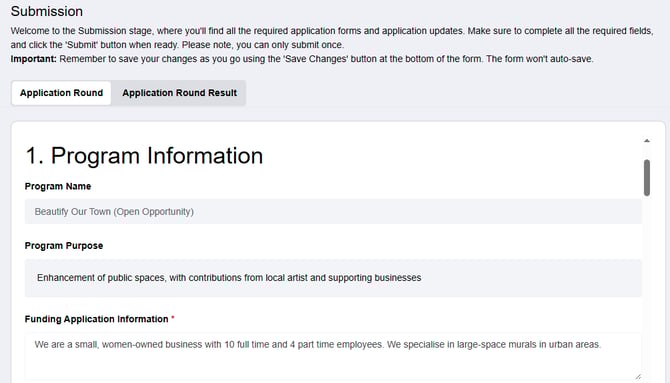
Scroll through the entire application, filling in as much detail as possible and uploading files as needed. There is a Save button at the bottom, if you need to save your work before submitting.
Tip: If you save your application progress and need to come back to the Application Portal at a future time, log back in and open your application from the Applications list to resume completion of your submission.
When finished, click Submit then confirm. 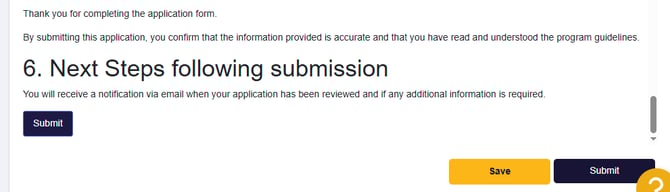
Once submitted, the application round is marked as complete on your end. The application is now in the hands of the funding body’s assessment panel, and you can await notification via email when a decision is reached. At that time, you’ll be able to see decision results in the Application Round Result tab. 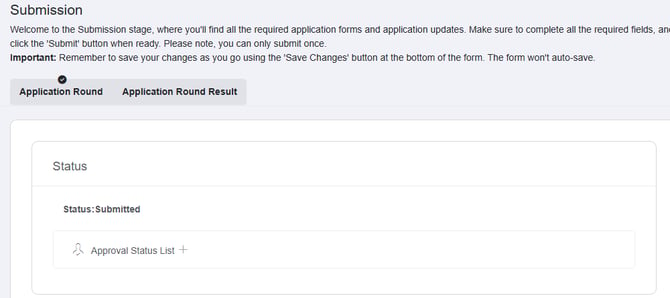
Note: You may be able to create and submit multiple applications for a single funding opportunity (if enabled by the funding body).
To create a new submission:
-
Go to the Funding Opportunity card in Funding Opportunities
-
Select Explore this Opportunity
-
Select the Apply button
-
Commence your new application submission
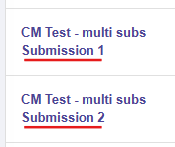
Submission names are labelled with a numbered suffix, for example "(Application Name) Submission 1" or "(Application Name) Submission 2" and display as such in the Applications list, so they are easier to identify.
The next workflow stage, Application Round Result, is also listed on the Applications page. 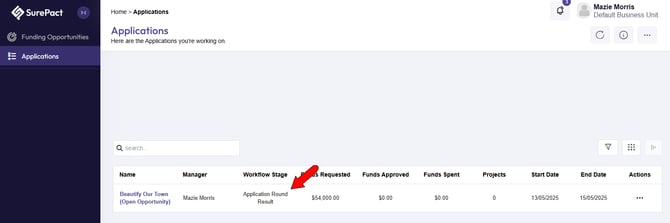
What happens next depends on whether your application is approved or rejected.